Constructing a Dubbing Rope on a Clark's Block Tutorial
|
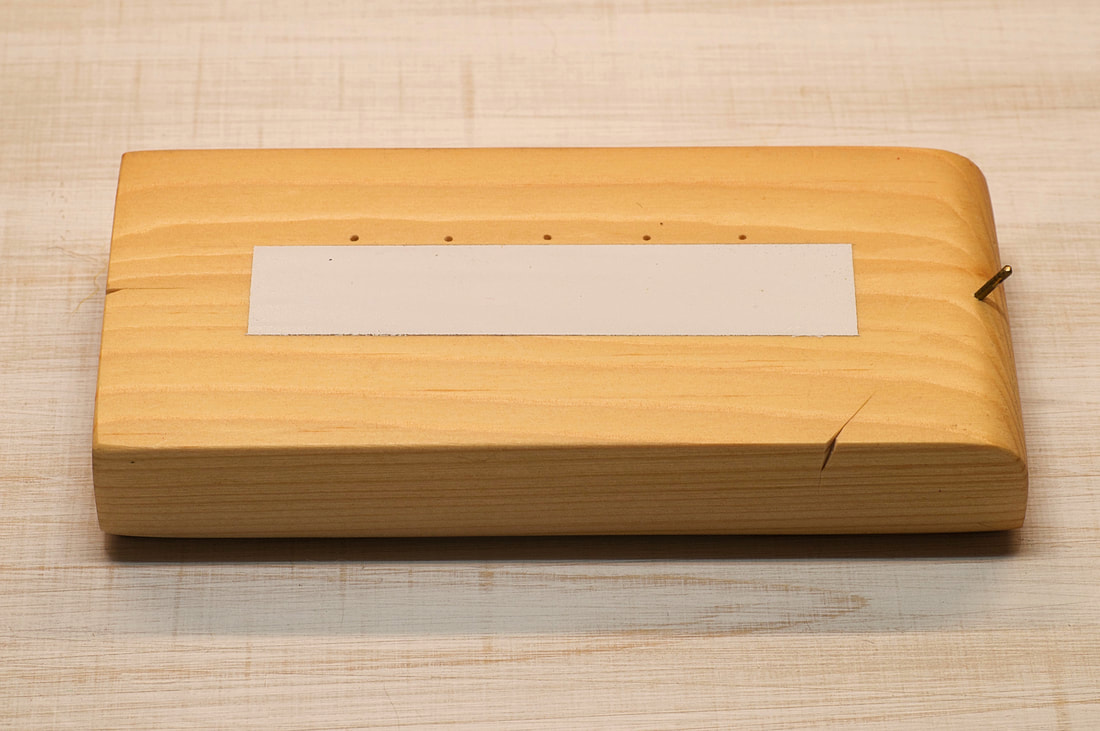
Features of a Clark's Dubbing Block
Before I begin let us take a look at a few features of the Clark's dubbing block. Dimensions are not that important. Most of mine are in the 2"x4" range. The top is rounded along the top edge with a small pin protruding out at about a 45 degree angle. Two small slots are cut in the block. One along the right side about 1/4 of the way down the side. Another slot is located at center along the bottom edge. These slots hold the thread ends in place and are optional. Other optional features are contrasting tape along the top center of the block and markers used to help measure the length of dubbing for different size hooks. |
|
|
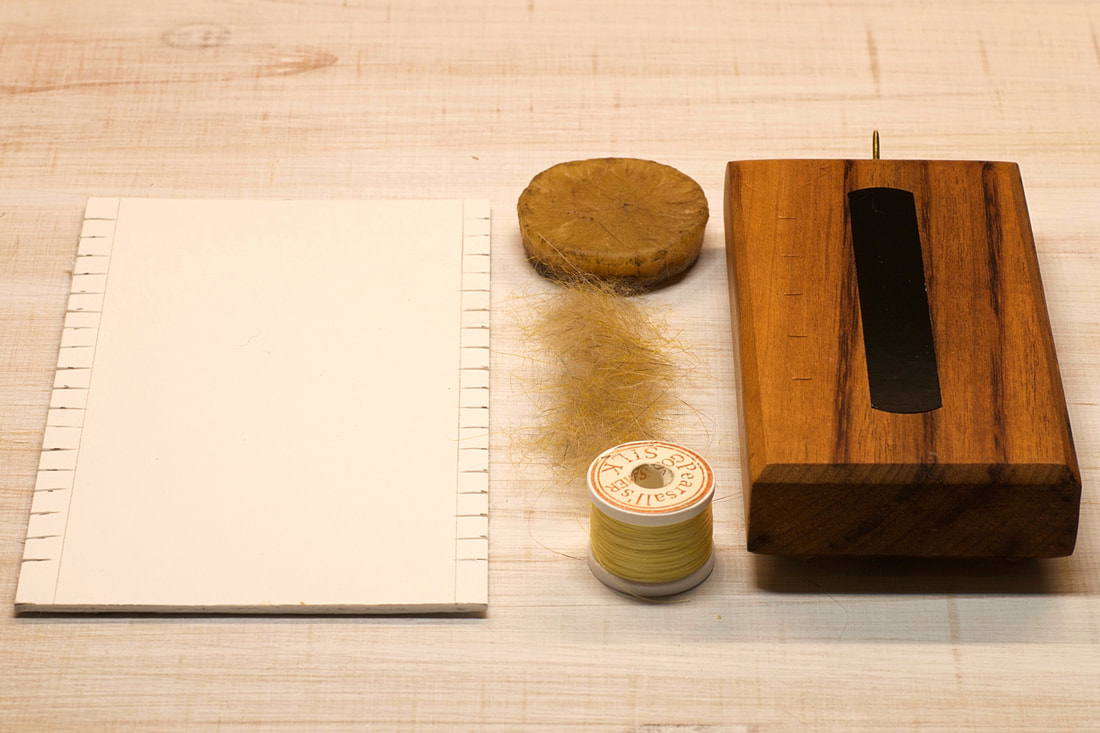
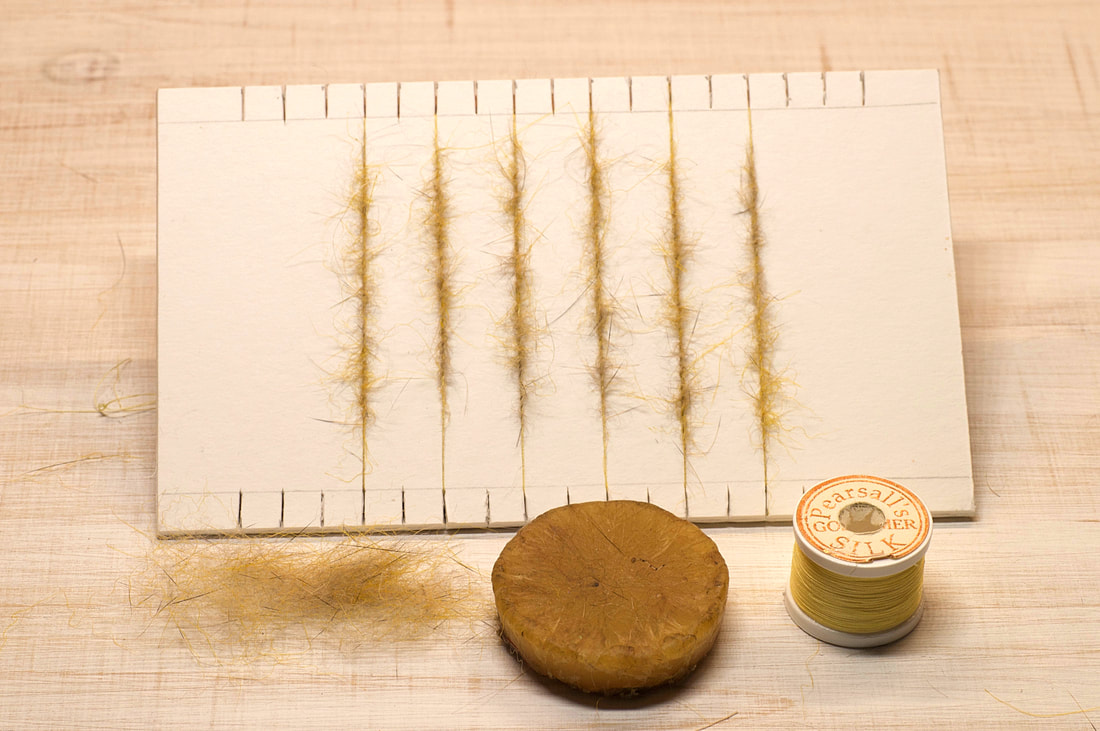
Material List
1. Clark's dubbing block 2. Silk Thread 3. Hard or semi-hard wax 4. Dubbing 5. Storage card |
Step 1.
Wax about a 10" strand of the silk thread. For this to turn out correctly you need to use silk thread. The silk accepts the wax unlike other threads and allows the finished rope to stay twisted. The wax should be hard enough that you need to warm it up a bit in order to apply it to the thread. This is important because we want the wax to cure after construction of the rope. The cure will essentially cement all the material together and keep the silk thread from unraveling later once the wax hardens again.
Wax about a 10" strand of the silk thread. For this to turn out correctly you need to use silk thread. The silk accepts the wax unlike other threads and allows the finished rope to stay twisted. The wax should be hard enough that you need to warm it up a bit in order to apply it to the thread. This is important because we want the wax to cure after construction of the rope. The cure will essentially cement all the material together and keep the silk thread from unraveling later once the wax hardens again.
|
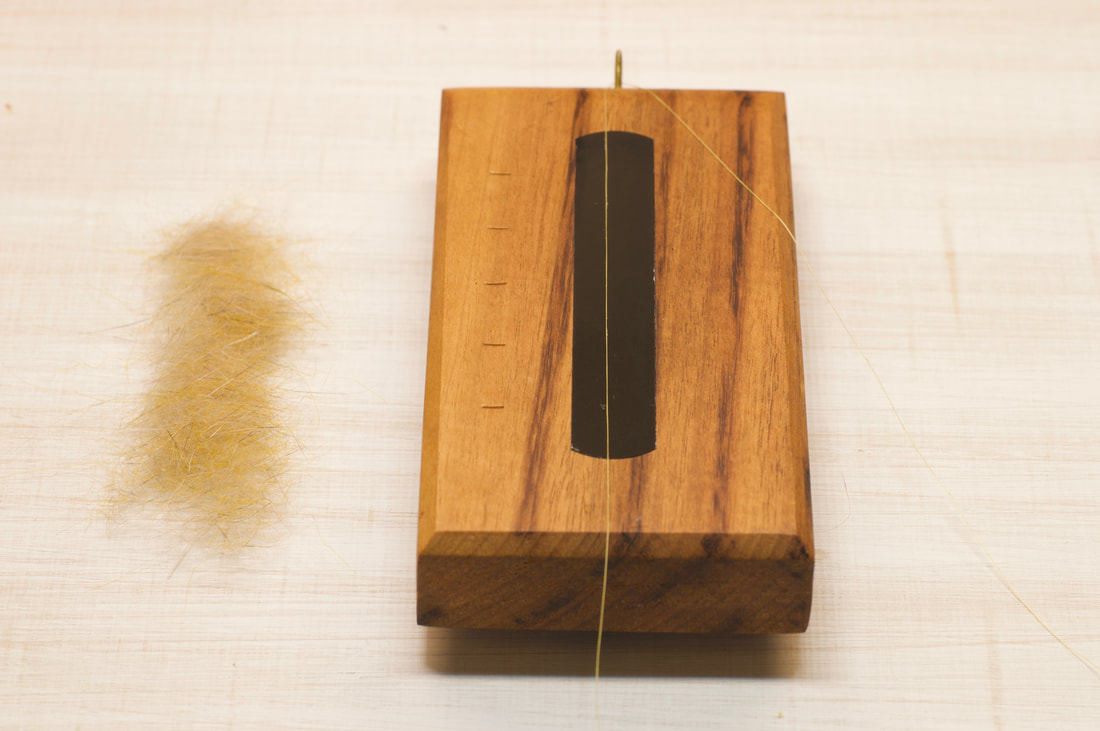
Step 2.
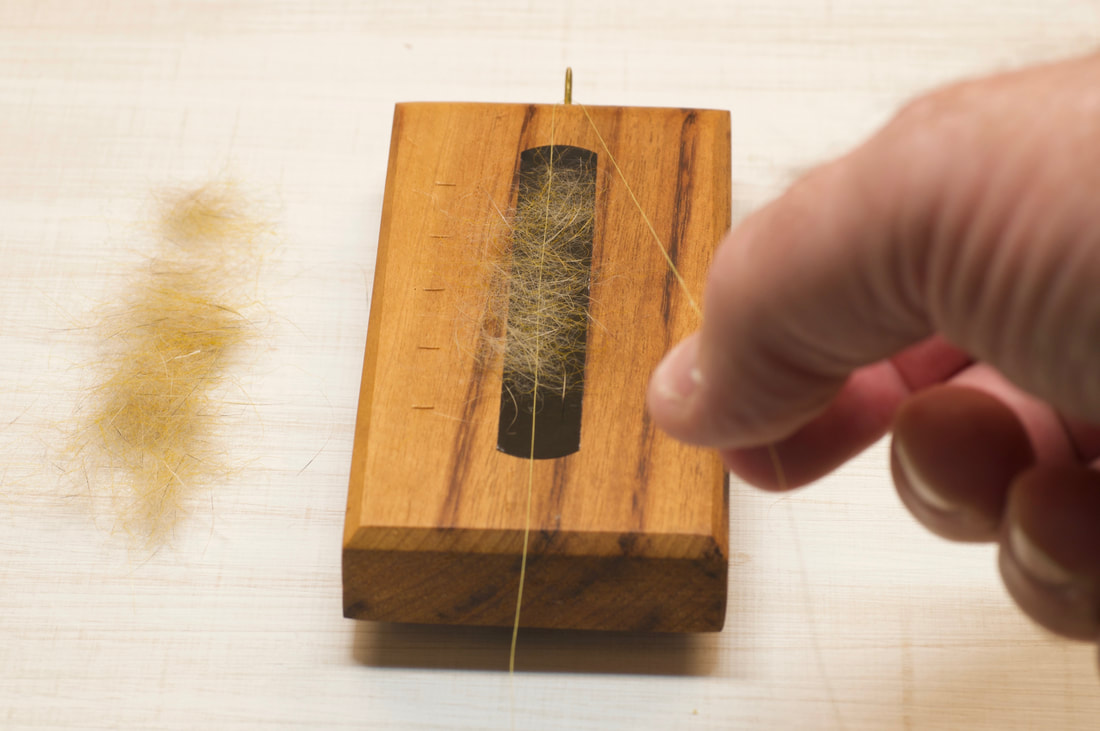
Place the center of the waxed silk strand over the pin at the top of the block. Bring one end of the thread straight down the center of the block. Take the other end off to the side. If your block has slots, you can use them to hold the thread ends in place. |
|
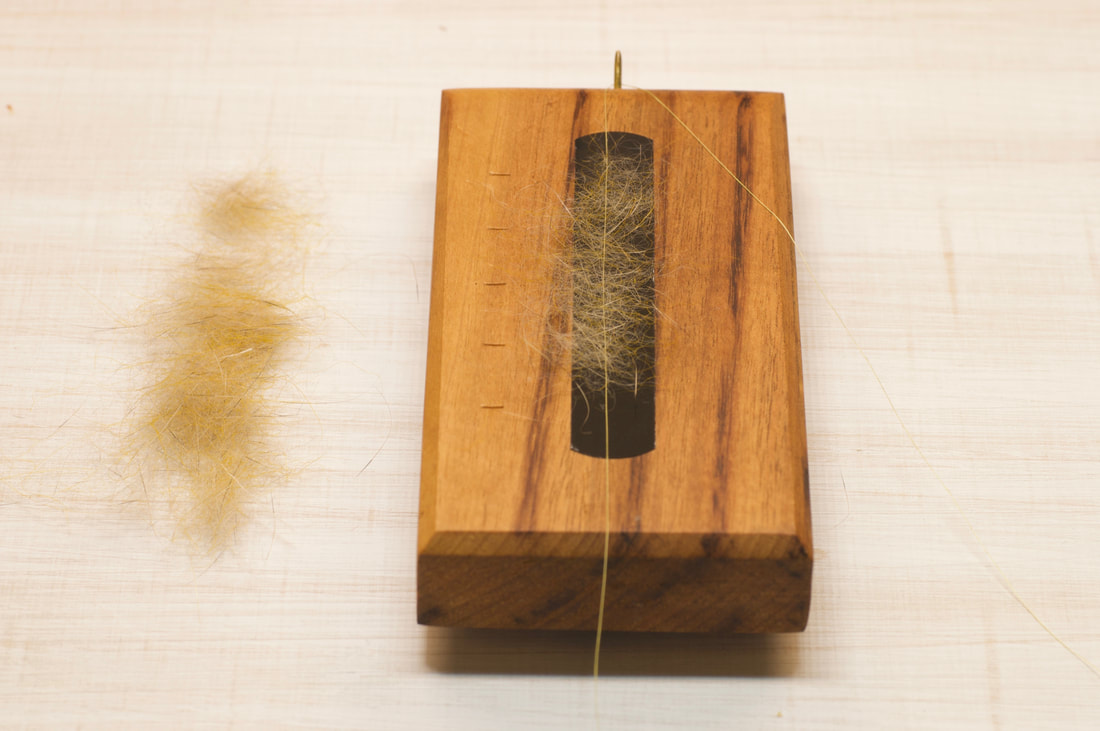
Step 3.
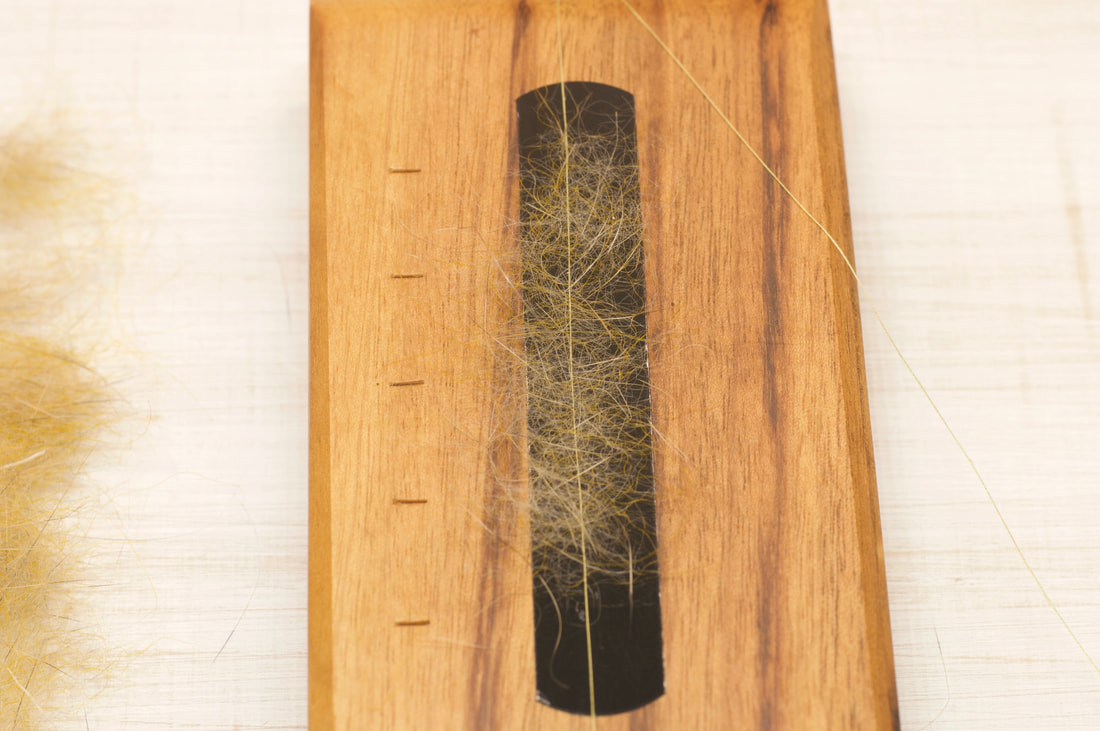
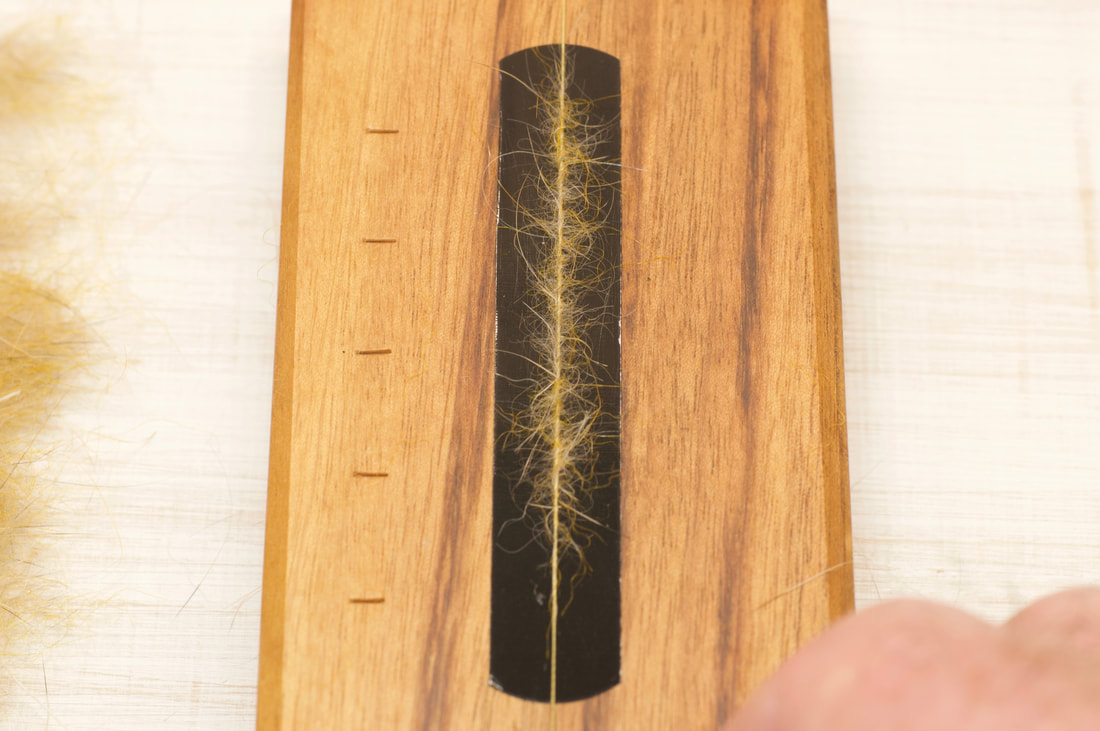
Place a thin net of dubbing over the center silk strand. The application should be sparse. Your goal is to be able to clearly see the silk strand underneath the dubbing. Overtime you will develop a sense for how to manipulate this application to get the final product you are after. The ropes I am constructing here are for tan caddis flymphs. I like my caddis patterns to have longer fiber and a bit fuller body so my application is a bit wider. If I was constructing a mayfly rope I might use a little less dubbing and width wise have a thinner application.
Place a thin net of dubbing over the center silk strand. The application should be sparse. Your goal is to be able to clearly see the silk strand underneath the dubbing. Overtime you will develop a sense for how to manipulate this application to get the final product you are after. The ropes I am constructing here are for tan caddis flymphs. I like my caddis patterns to have longer fiber and a bit fuller body so my application is a bit wider. If I was constructing a mayfly rope I might use a little less dubbing and width wise have a thinner application.
|
|
Step 4.
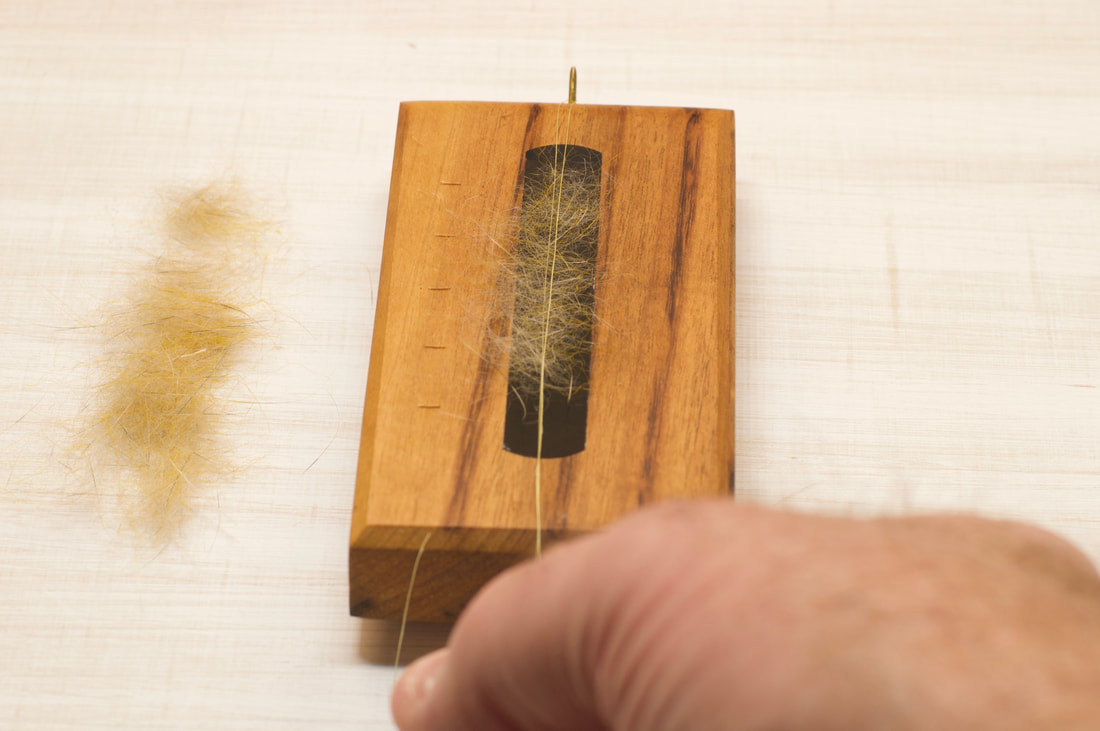
Once you have your dubbing applied the way you want, take up the free end of waxed silk thread. Bring the free end up and set it directly on top of the center end of waxed silk thread. Your dubbing should now be sandwiched between the two ends of silk thread.
Once you have your dubbing applied the way you want, take up the free end of waxed silk thread. Bring the free end up and set it directly on top of the center end of waxed silk thread. Your dubbing should now be sandwiched between the two ends of silk thread.
|
|
Step 5.
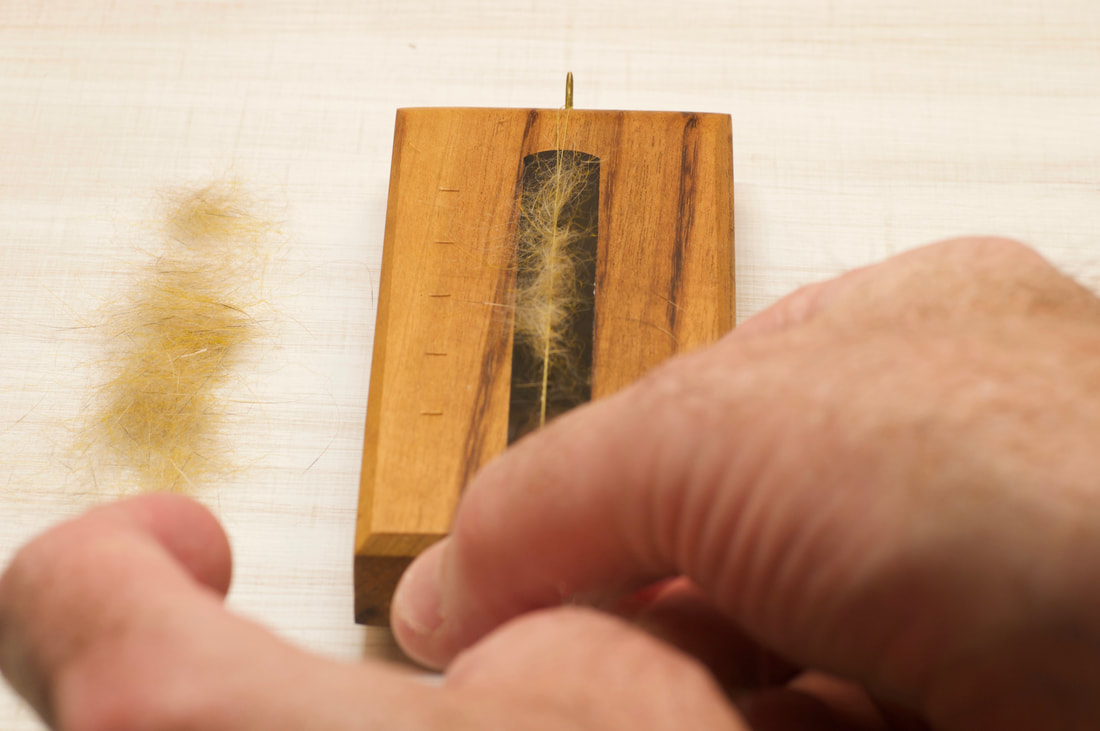
While pinching the two waxed silk ends together, begin twisting the ends with two hands near the base of the block. Twist until a nice rope begins to appear. Do not spin so much that the thread begins to buckle or become a tightly twisted rope. Sometimes you will notice spots along the rope where the dubbing is too dense. While holding the two ends in one hand, use the other finger of your other hand to lightly pluck some of the dubbing fibers out of these dense areas. As you become better at applying the thread initially, you will see less and less of these.
While pinching the two waxed silk ends together, begin twisting the ends with two hands near the base of the block. Twist until a nice rope begins to appear. Do not spin so much that the thread begins to buckle or become a tightly twisted rope. Sometimes you will notice spots along the rope where the dubbing is too dense. While holding the two ends in one hand, use the other finger of your other hand to lightly pluck some of the dubbing fibers out of these dense areas. As you become better at applying the thread initially, you will see less and less of these.
|
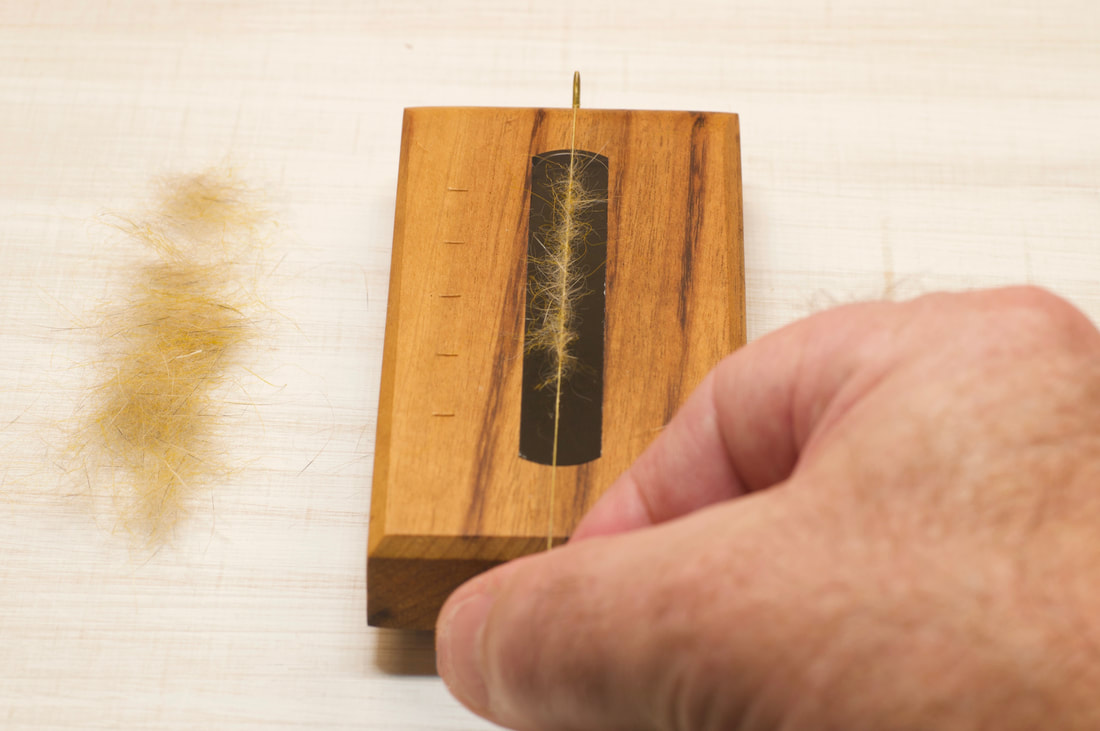
(Picture left) Your finished rope should be fairly consistent density through out the length. You should still be able to see some of the thread color coming through and complimenting the dubbing to form the rope. The two ends of the dubbing area should gently decrease in density.
|
Step 6.
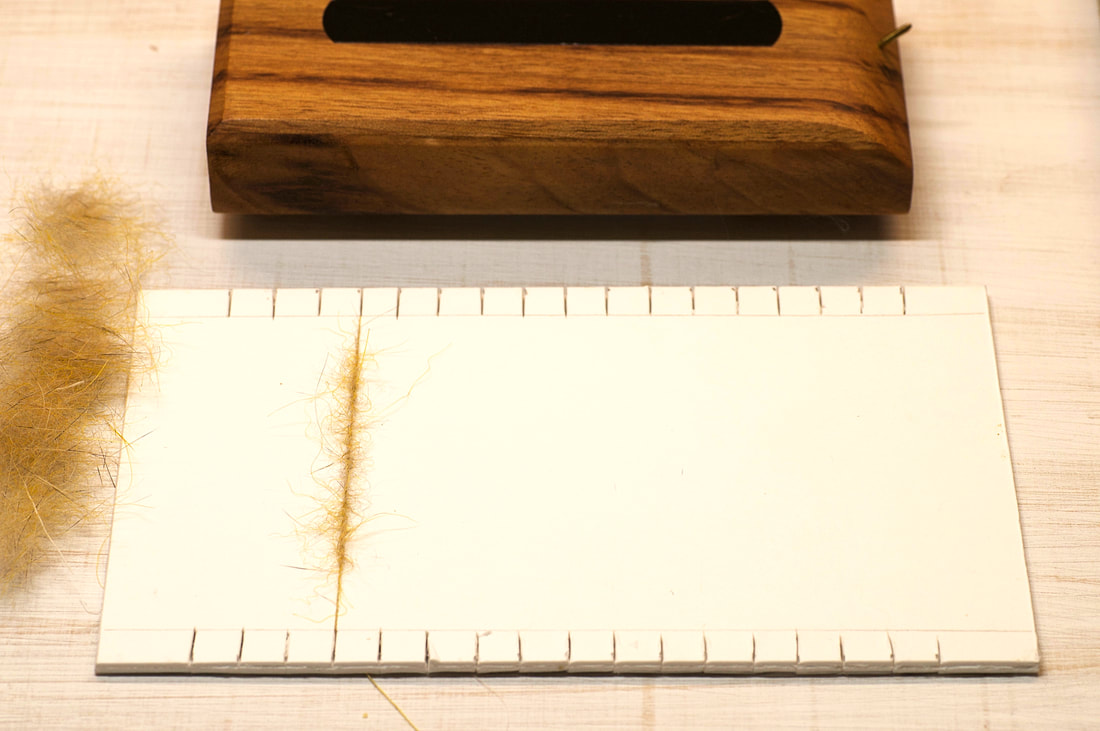
Once you are finished constructing your dubbing rope, carefully remove the rope from the block and immediately place the rope on a card like the one below to let the entire rope cure. Leisenring and Hidy often let these sit overnight. I have found an hour or two usually is fine. This time allows the wax to harden back to it's original state essentially cementing all the rope materials together and holding the twist in the silk thread. This process is well worth the time when you see how smooth it makes the flymph tying process go and how durable a fly you will have created.
Once you are finished constructing your dubbing rope, carefully remove the rope from the block and immediately place the rope on a card like the one below to let the entire rope cure. Leisenring and Hidy often let these sit overnight. I have found an hour or two usually is fine. This time allows the wax to harden back to it's original state essentially cementing all the rope materials together and holding the twist in the silk thread. This process is well worth the time when you see how smooth it makes the flymph tying process go and how durable a fly you will have created.
|
|
Now that you have built a dubbing rope on a Clark's Block go here to use it to construct a traditional flymph.