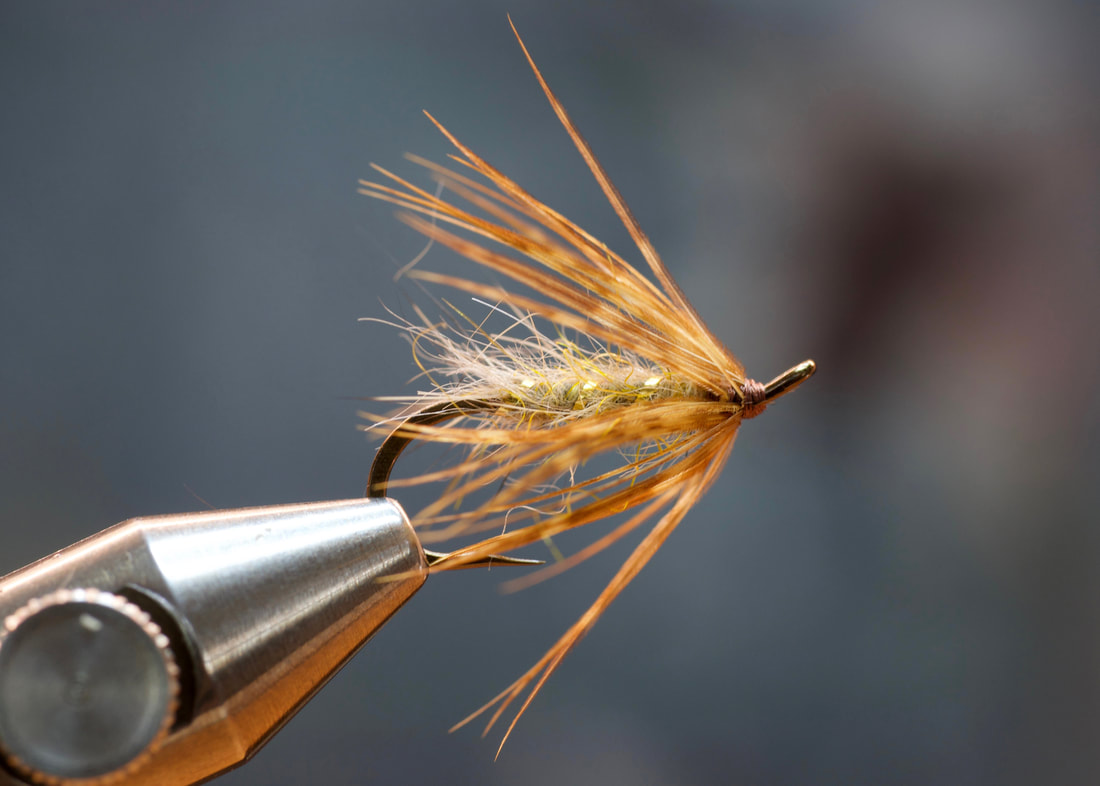
In this tutorial I will show you how to tie a traditional flymph with the dubbing rope constructed in the tutorial on using a Clark's dubbing block. You can see how the dubbing rope is constructed here.
For this tutorial I will be tying a pattern for tan or cinnamon caddis hatches. I will be using a dubbing rope built on Pearsall's primrose thread. The dubbing mix is roughly 80% hare, 10% natural seal and 10% seal dyed golden olive. For the binding thread on this pattern I like to use a different color. Some kind of a dark brown works good. I am using Pearsall's tying silk in brown. The hackle is a bleached partridge feather. I usually tie this pattern on a #14-#18 2x heavy hook.
|
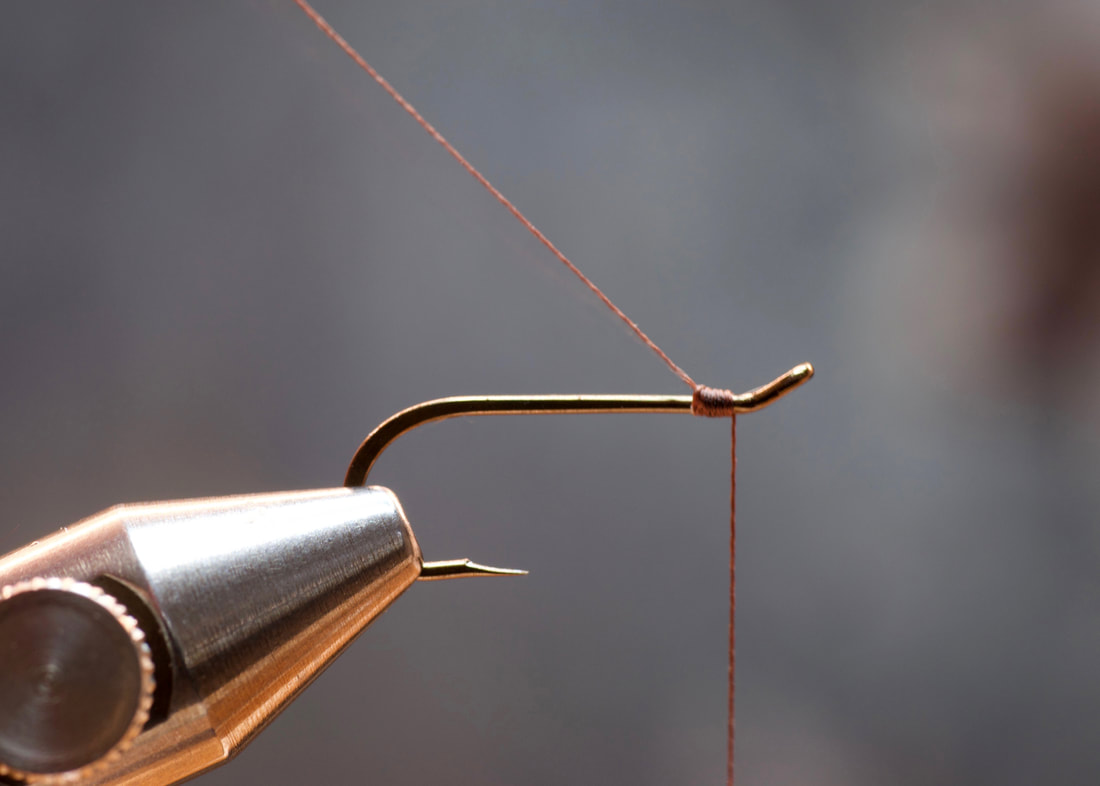
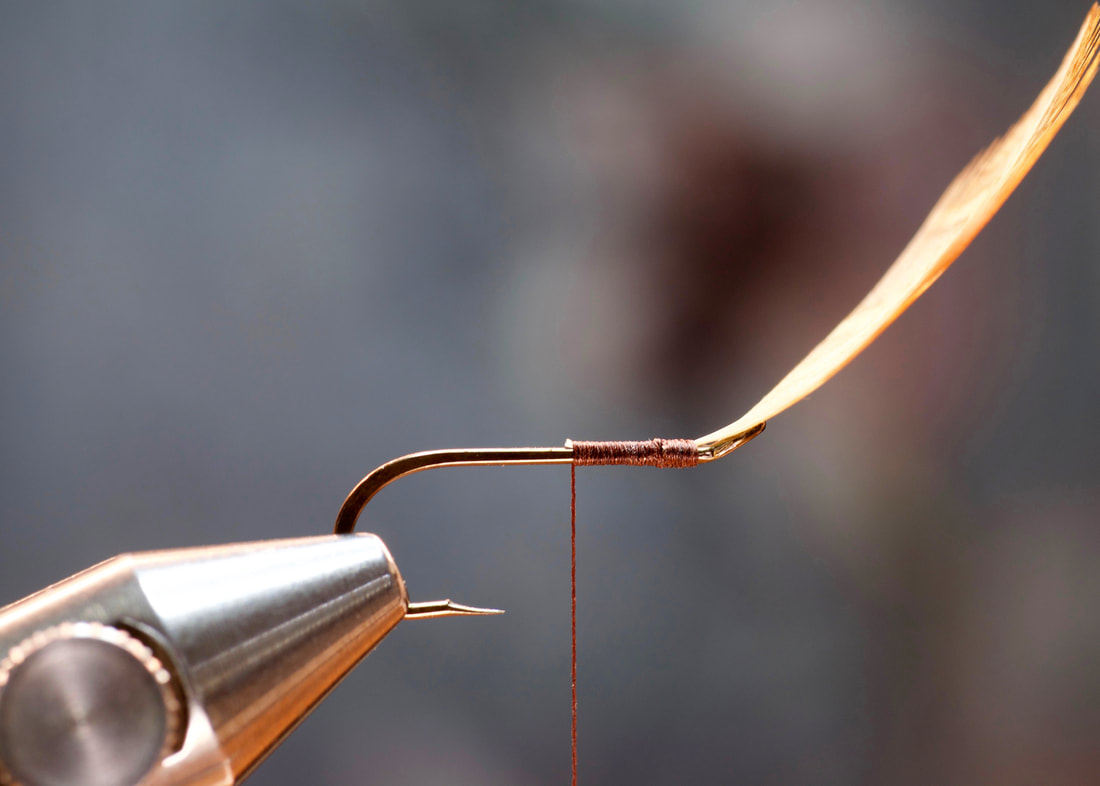
Step 1.
Wax your binding thread well and attach your thread just behind the eye of the hook. Go here for my method of attaching thread. |
|
|
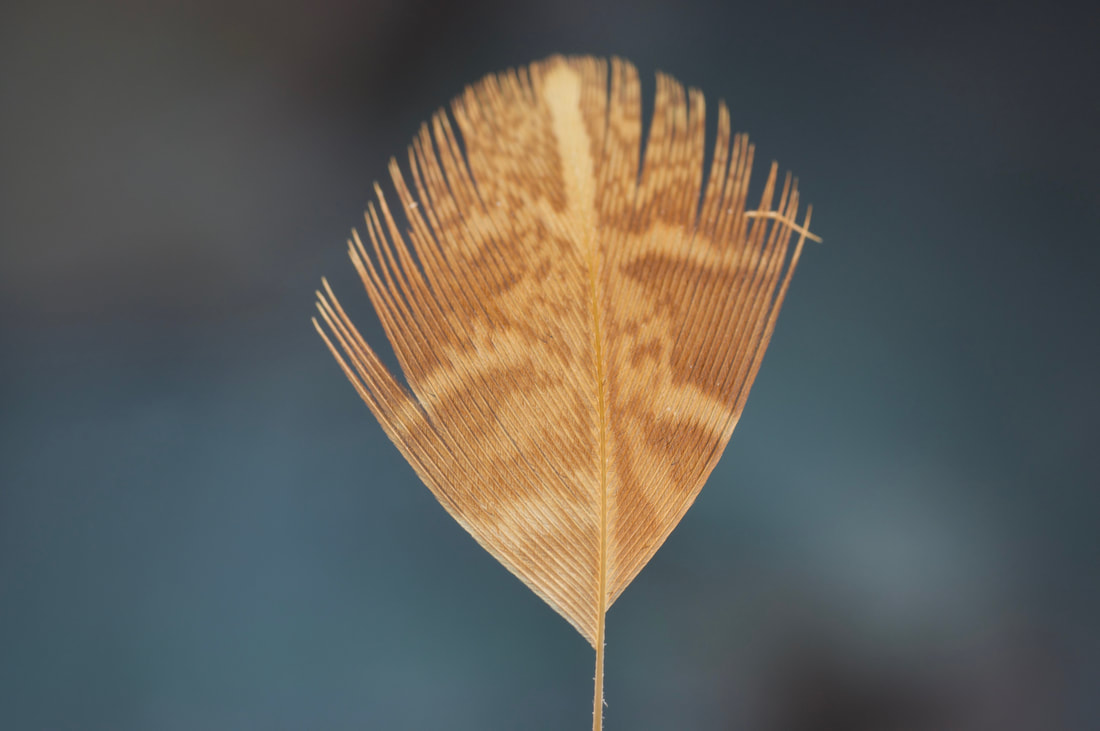
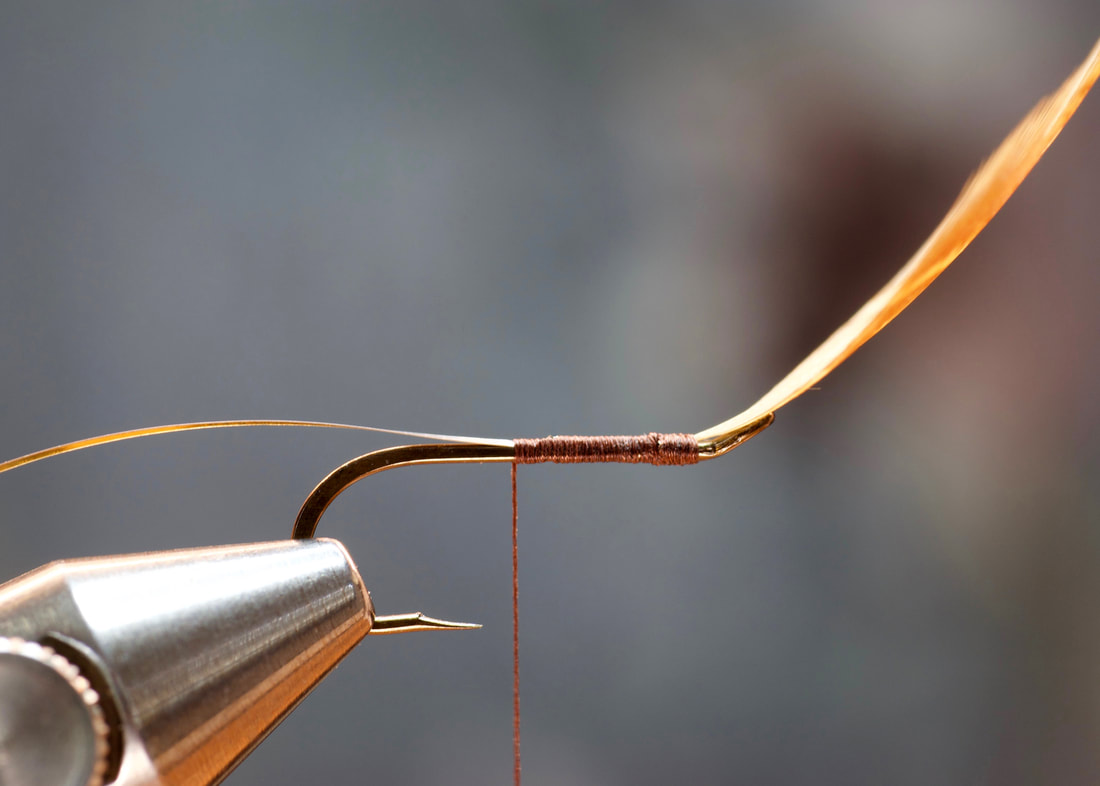
Step 2.
Prepare a back feather from a bleached partridge skin. Clean the lower "fluff" from the chosen feather. Looking at the convex side of the feather strip a few more barbs from the right side as shown in the photo on the left. When barbs are stripped from the stem of the feather, some of the stem is removed and a flat side is created. As you begin later on to wrap the hackle this small flat section with help to set the hackle correctly and greatly decrease the chance of it twisting on you as you wrap. |
|
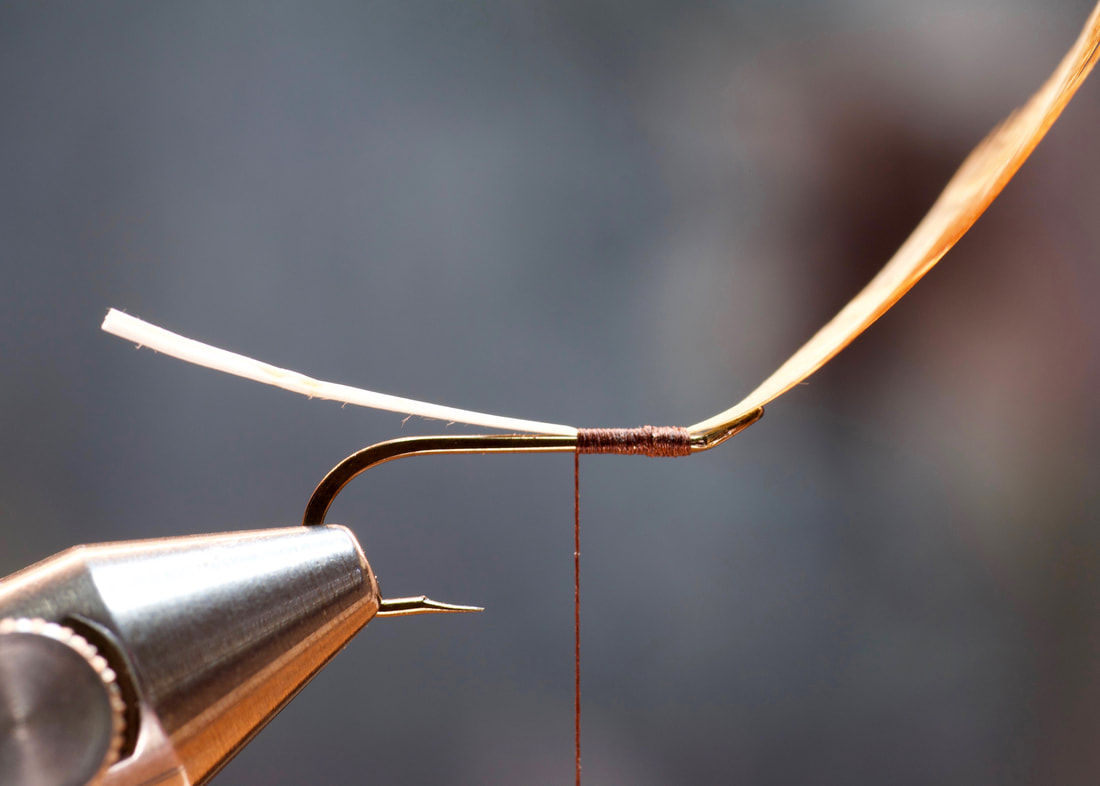
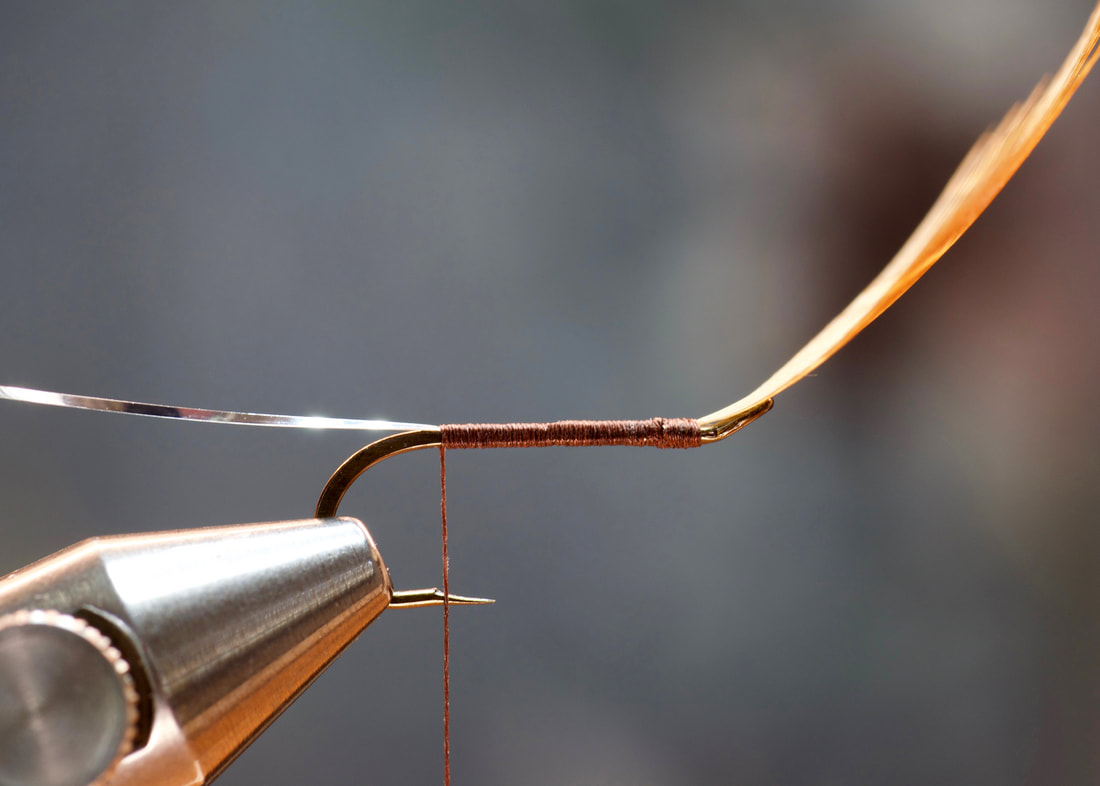
Step 3.
Attach the hackle by the lower stem just below the barbs. Position the attachment just behind the hook eye with the concave side of the feather facing up. This should place the small stripped side of the stem from step 2 away from you. Continue to wrap your thread back about 1/3 the hook length. |
|
|
Step 4.
Trim off the remainder of the lower stem. |
|
Step 5.
Tie in a strand of thin gold tinsel at the point where your hackle stem ends. |
|
|
Step 6.
Continue to make thread wraps towards the rear of the fly stopping your thread somewhere between the hook point and barb. |
|
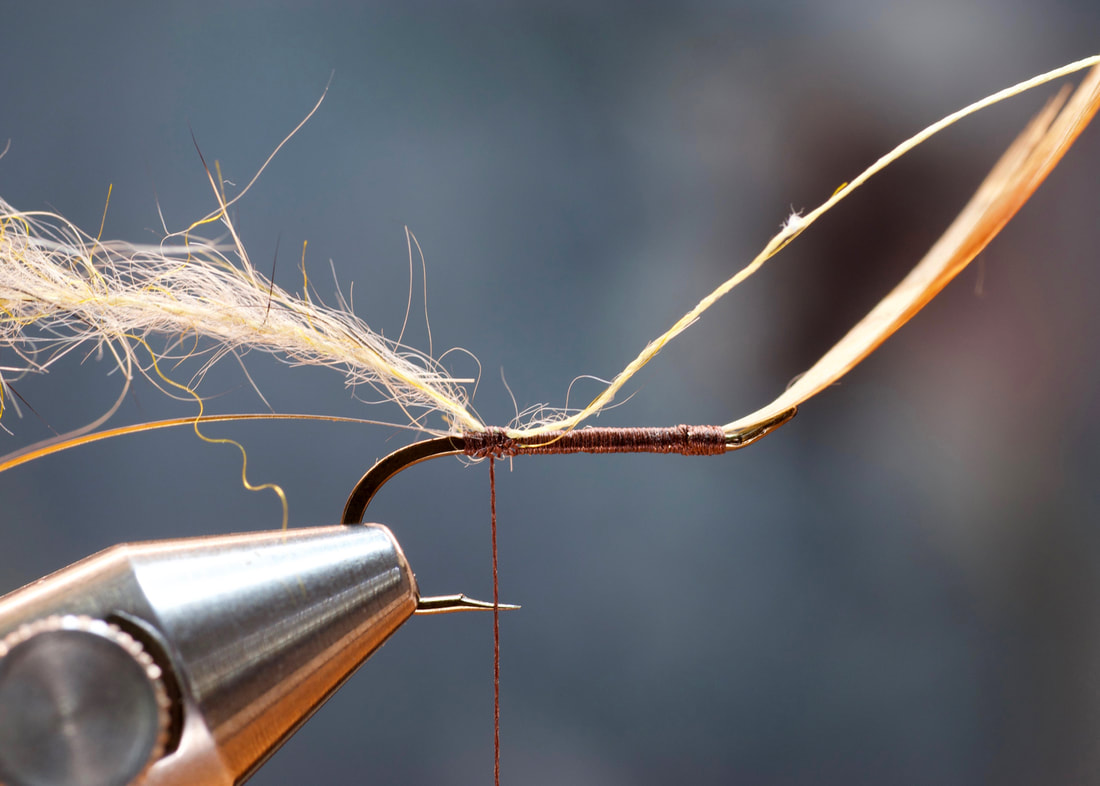
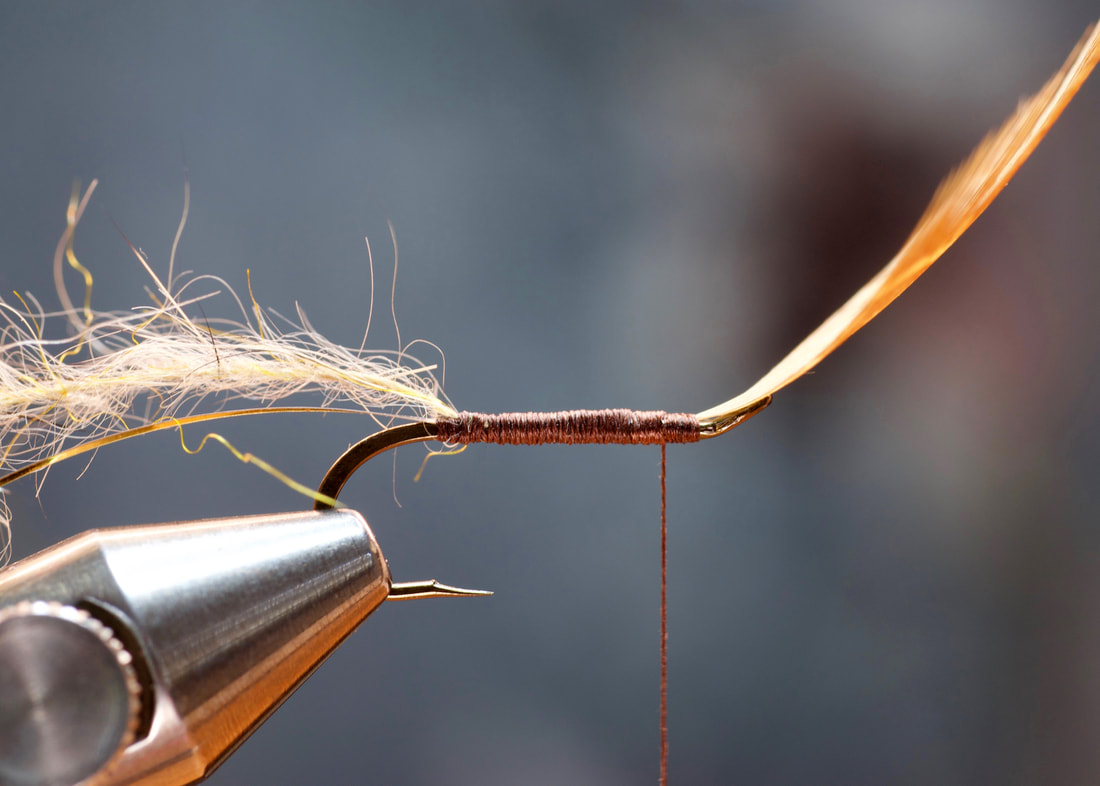
Step 7.
Move your thread forward about 2 wraps. Attach the pre-made dubbing rope. One of the signature features of a traditional flymph is the appearance of the thread color at the butt of the fly. Moving forward a couple wraps allows this to happen. |
|
|
Step 8.
Move your thread to the front of the fly stopping a couple wraps behind the hackle tie in point. |
|
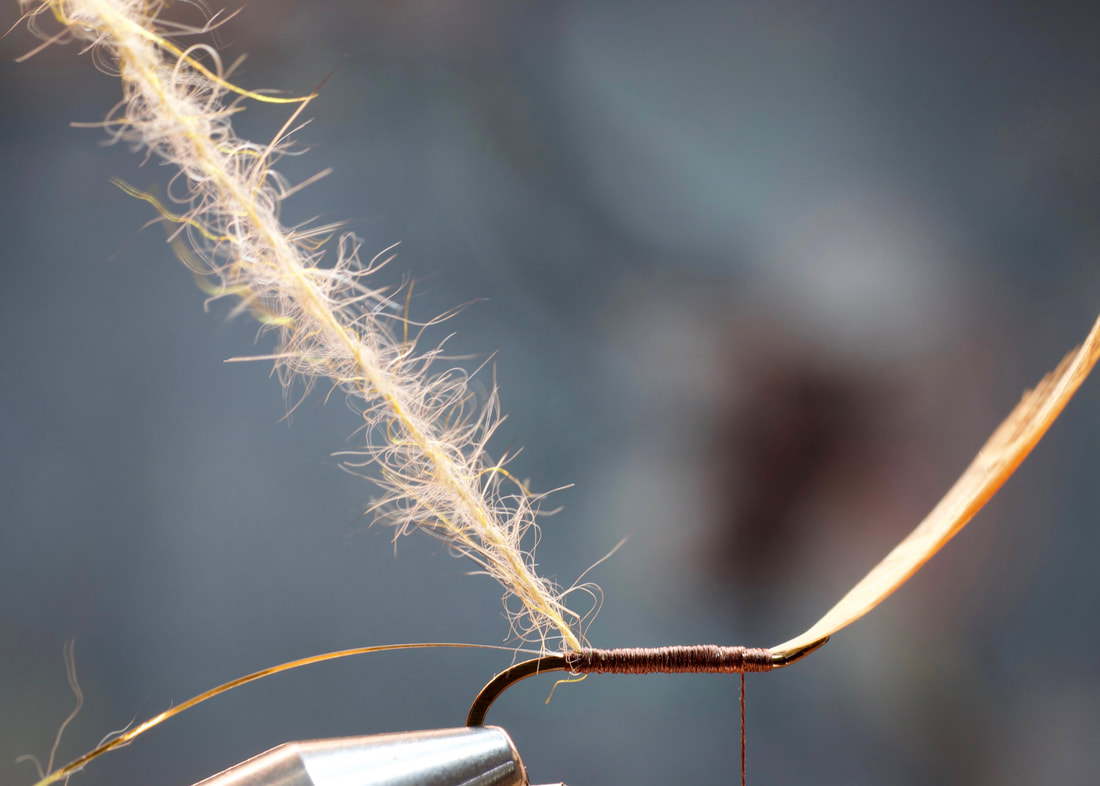
Step 9.
At this point I like to lift the dubbing rope up with my left hand and groom it a bit with my right hand, pulling out any extra long unruly fibers and generally making it even with a slight taper at both ends. |
|
|
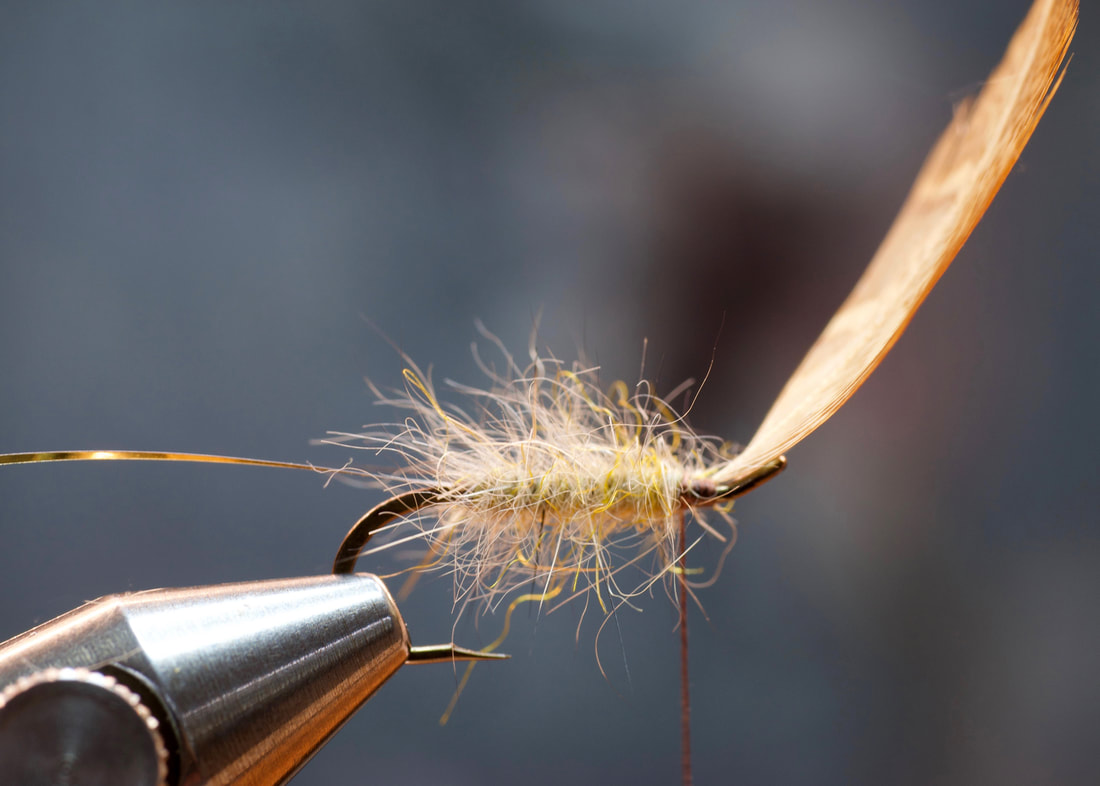
Step 10.
Proceed to wrap the dubbing rope forward stopping at the thread. With a couple wraps secure the rope snug. The well waxed thread should grab the material well so only a couple are all that is needed. Trim the excess. |
|
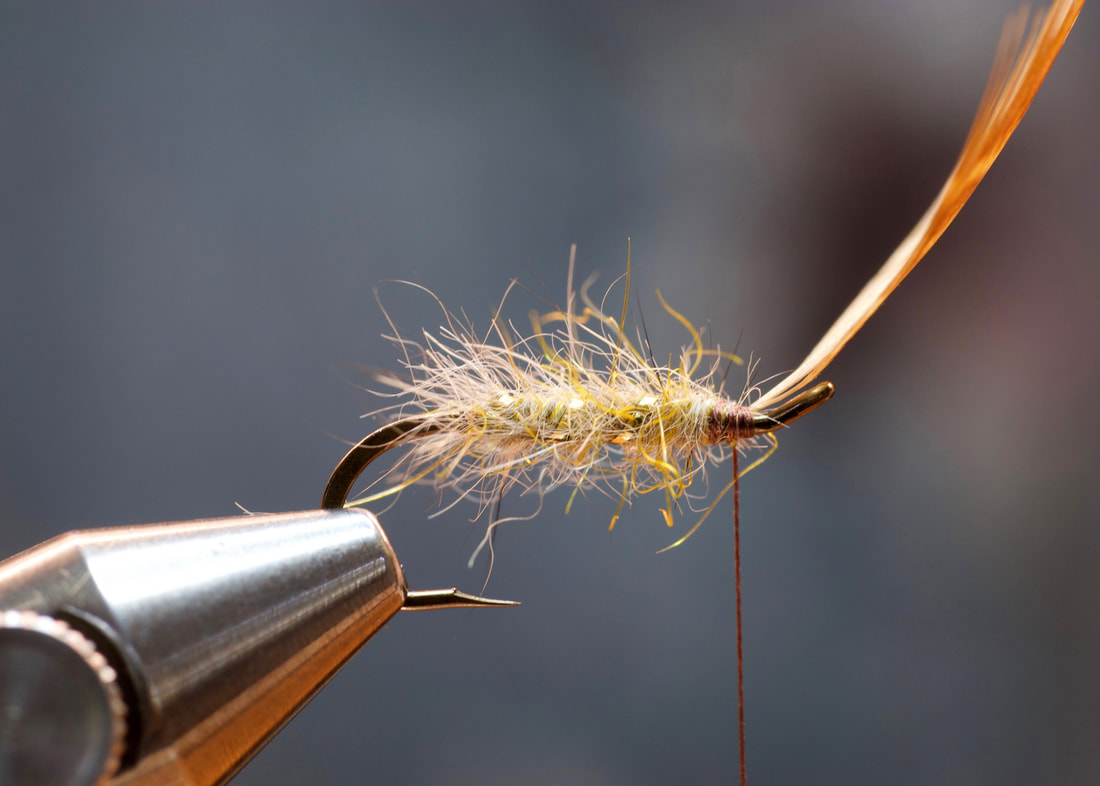
Step 11.
Now follow the dubbing rope with a few wraps of tinsel again stopping at the thread point and securing it with a couple wraps. Trim the excess. |
|
|
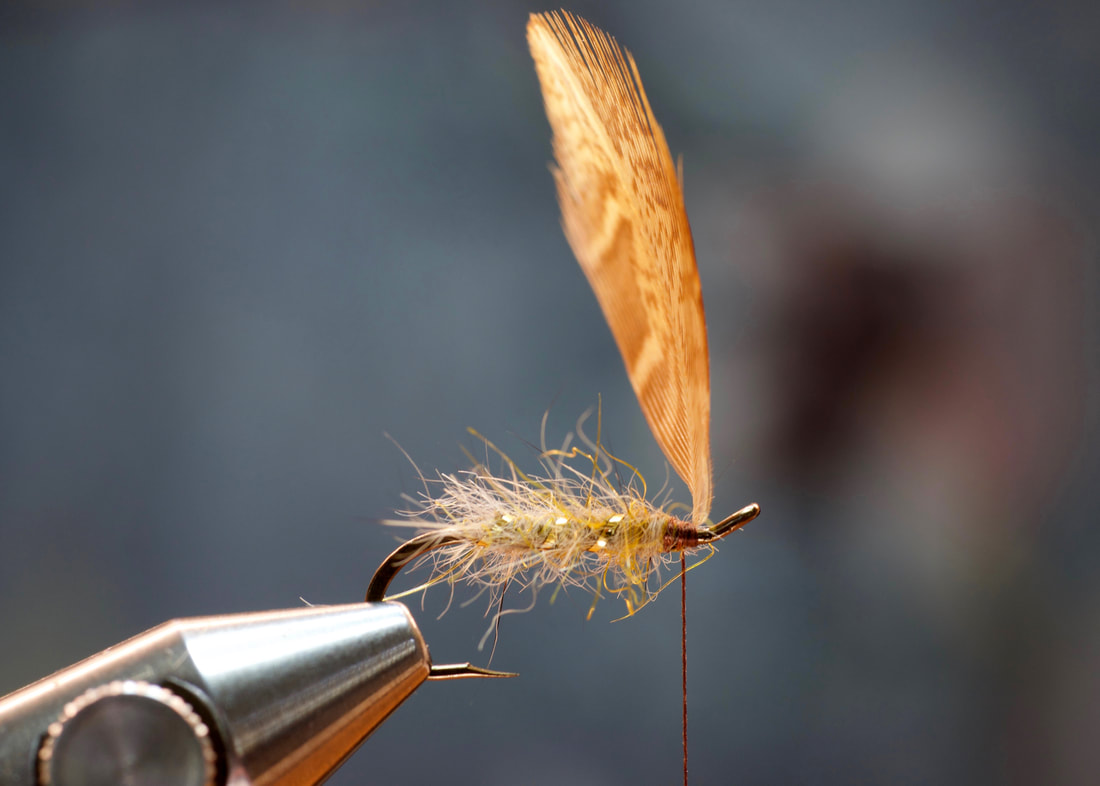
Step 12.
Prepare to wrap the hackle by propping it up at a 90 degree angle to the hook shank. |
|
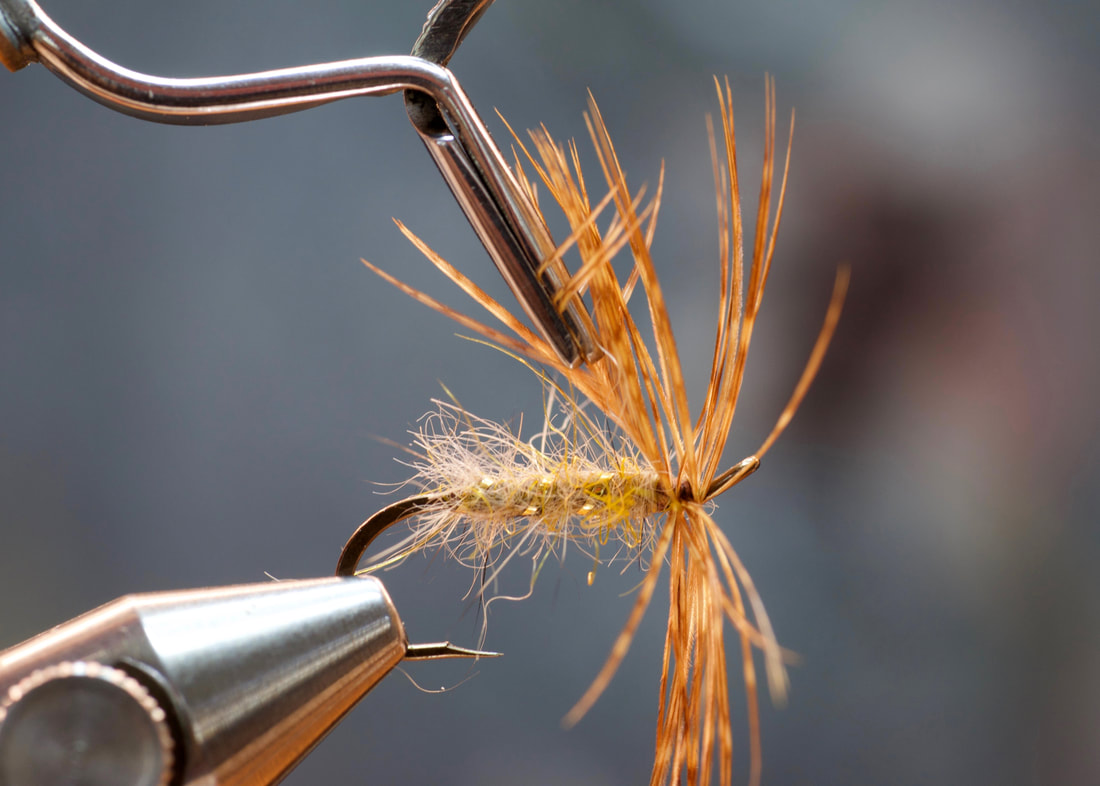
Step 13.
Grab the tip of the hackle and make 2-3 wraps rearward but making sure to stay in front of the thread. Stop your wraps and continue to hold the tip of the hackle upright. |
|
|
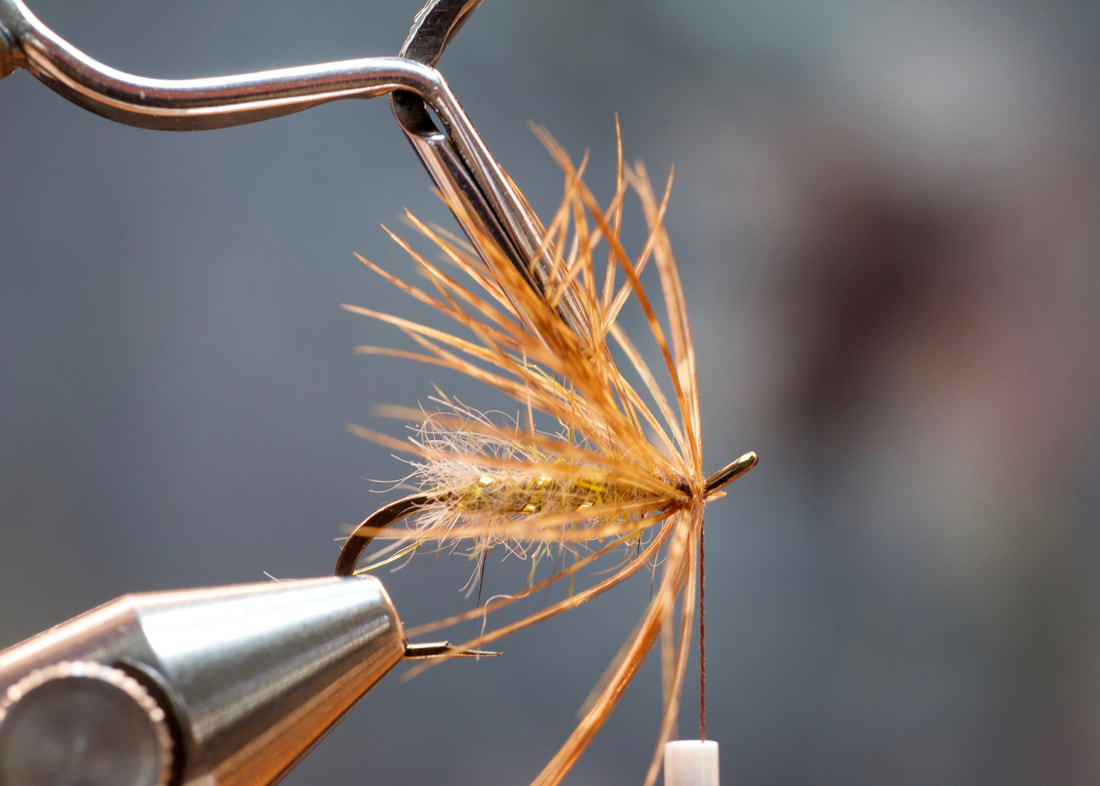
Step 14.
Secure the tip of the hackle with a couple wraps of thread and then counter wrap forward through the hackle stopping just in front of the hackle. This counter wrap has some advantages. It helps to separate the barbs of the hackle and promotes the barbs to radiate from the fly giving a very lively appearance under water. The counter wrap also makes the hackle very secure to the hook and keeps it from breaking and unwrapping after a couple fish gnaw on it. |
|
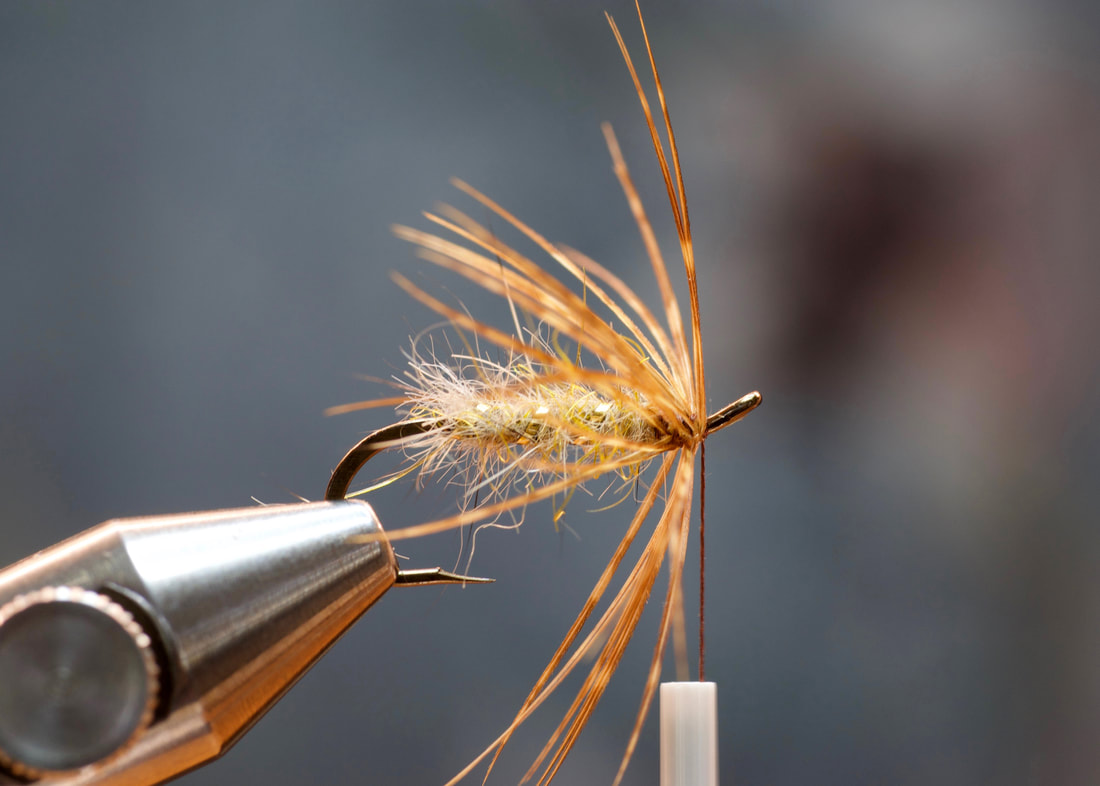
Step 15.
Trim away the hackle tip. Be careful not to trim any of the hackle barbs. |
|
|
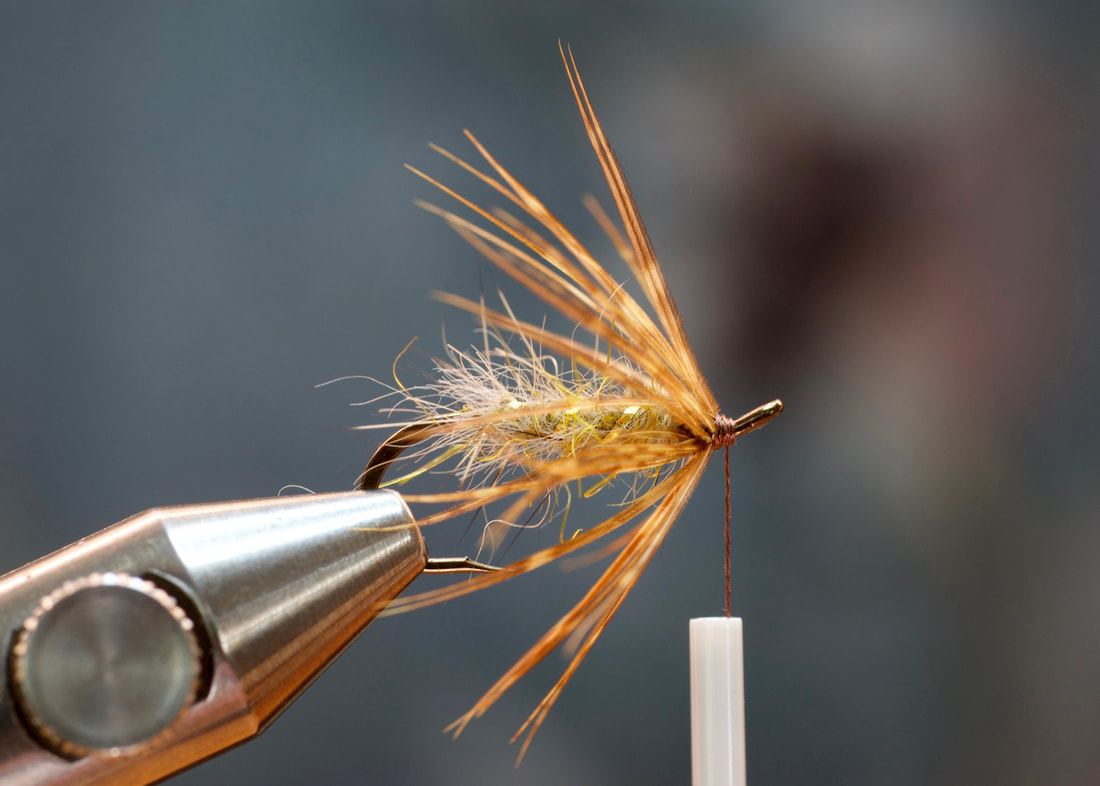
Step 16.
The nice thing about this hackling technique is you can now form a nice neat head with out any fear of crowding behind the eye. Use a couple wraps to set the hackle. Do not tie the hackle down, you want it to remain radiating out from the fly. Form a nicely shaped head and whip finish. |